You can't make this stuff up.
So naturally, we asked a glam expert to give you the honest truth when it comes to wedding makeup. Here are three must-knows from Sarah Logan, of the Aesthetic Science Institute (skin care schools, NY).
1. PLAN ACCORDING TO LIGHTING, VENUE AND SEASON.
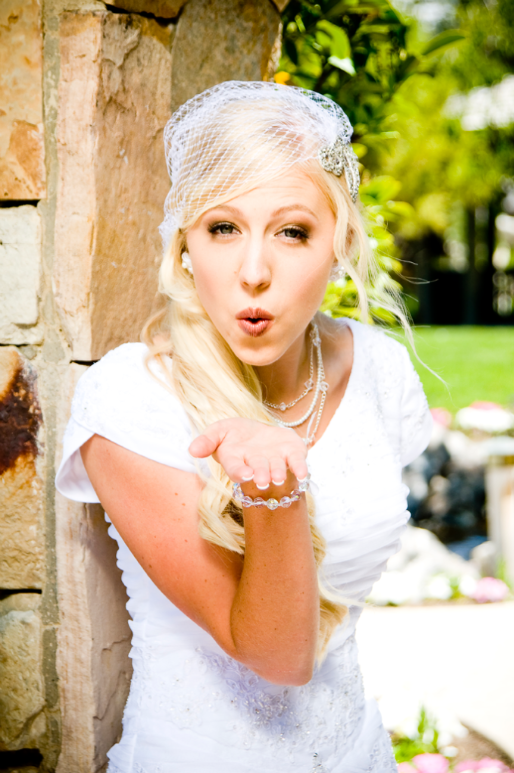
Take time to stop and think about if the event/photos will be taking place indoors or out. And think about what time of day. Indoor photos will be taken with flash, so it’s important to use powder to combat shine and to also be sure foundation is matched well. If outdoors, soften makeup a bit as it can easily look too heavy or harsh in the sunlight.
Also, adjust your makeup look for more formal locations and later times in the evening. When considering these factors, you will want to use more color and definition over simply adding more makeup.
Anticipate your skin’s history, and treat it accordingly depending on changes your skin may experience in the climate or weather that’s expected at the venue. If you are going to be outdoors in a hot, humid climate, stop makeup melt with long-wear products and lots of powder reapplications.
2. BUILD UP FROM A GOOD FOUNDATION.
Be sure your foundation is the right color and formulation for your skin. You may feel like you should use a heavy cream or stick foundation since you’re being photographed, but heavier formulas will look caked on and are more likely to leave a line of demarcation around the neck and hairline that’s tougher to blend away. Just stick with the liquid or powder that works for you, and be sure it’s properly matched to your color. No one wants to look washed out, but it can also age you a bit if your base is too dark for you. Color correcting concealers, like green or yellow for redness, and peach or yellow for under eye circles, are a much better choice than simply layering on more makeup. Remember that redness will be easily picked up in photographs, so take care to balance that out, and stay away from more pink-based foundations.
Avoid the glitter and shine and keep skin more on the matte side. Radiance-enhancing or shimmery foundations make faces look too slick for photos, so if you must, only keep the sheen on cheekbones and the Cupid's bow for highlighting purposes. Always finish the t-zone with powder, which is especially important to balance any highlighting applied.
3. DEFINE AND FLATTER EYES.
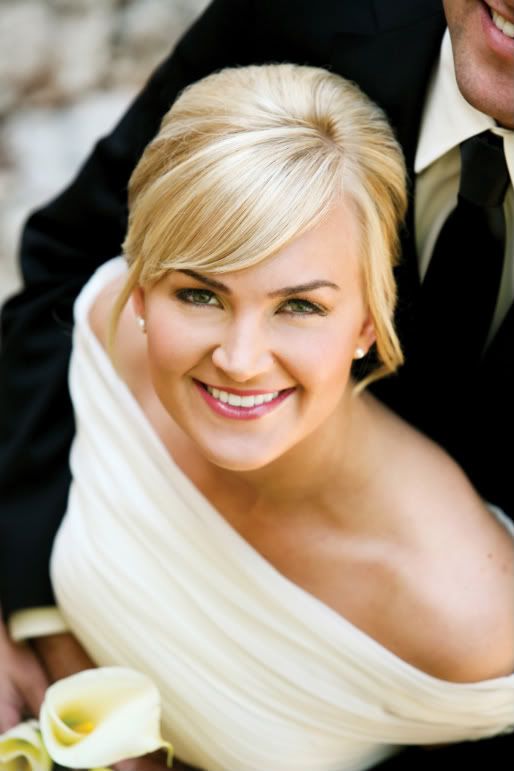
Keep in mind that darker eye shadows and heavy liner make eyes look smaller. A matte or pearl shadow formula will be universally flattering and especially in warm, earthy tones. To keep eyes looking big and bright, highlight the inner corners and brow bone with an off-white, light pink or pale gold shadow or crayon.
The older you are, the more important it is to stay fast to the no shimmer rule, as it tends to bring attention to fine lines. Black eyeliner can also look too harsh for older women (same goes for liquid liner) and fair blondes are more suited for eyeliner and mascara in the brown tones.
Don’t forget to make sure brows are properly framing the face — everyone looks better and younger with defined brows. Fill the arches with powder or if using a pencil, blend with a brush. Brow color and size are important considerations here; so don’t forget to use a light hand and blend.

